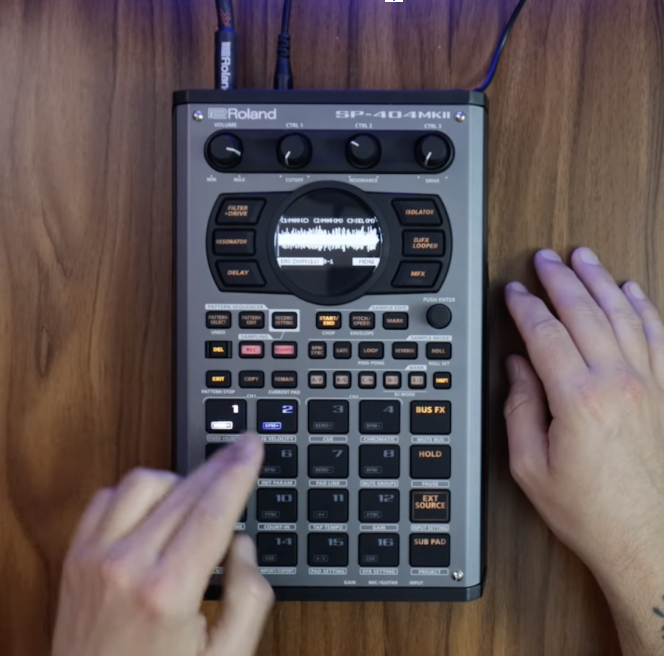
Is the SP404 MK2 Worth It?
May 4, 2022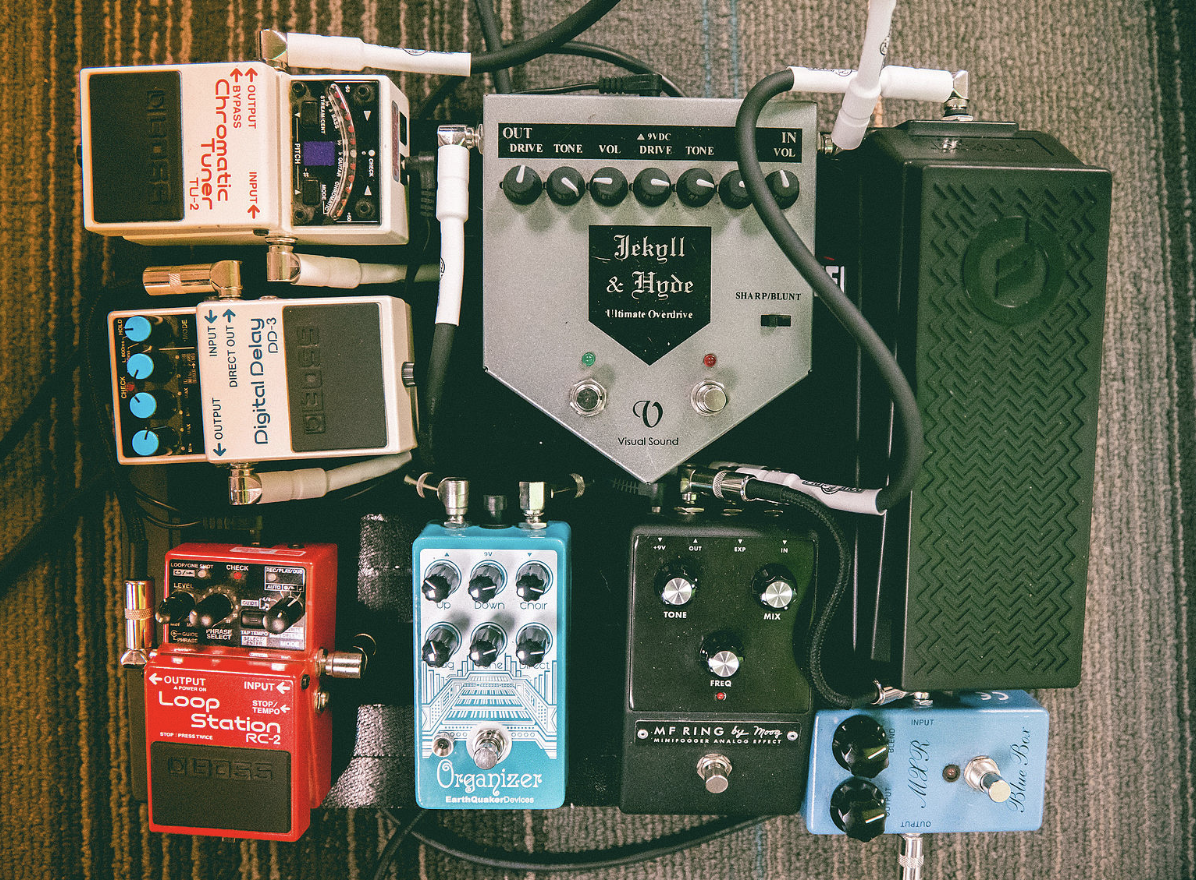
How to Master your Guitar Pedal Order
May 10, 2022

One of the hardest elements of a recording to get right, guitar poses a number of challenges to the beginner recording artist. With greater access to budget friendly audio equipment, it’s becoming easier and easier to record your own music at home. But how do you ensure that the guitar in your recording comes out just right?
In this article, we’ll take a look at all of the things you need to know about how to record guitar, including the equipment you need, how to mic up a guitar, how to record different kinds of guitar, and what to look for when mixing.
How To Record Guitar: Supplies
You’ll need a few things to get you started recording guitar at home.
- A computer running a DAW. Also known as a digital audio workstation, this is what you’ll record the guitar into. This can be anything from Audacity, a free open source program perfect for complete beginners, or a more advanced one such as PreSonus’ Studio One.
- A microphone. This is a must have for recording acoustic and classical guitar.
- An audio interface. This allows you to record your guitar directly into your computer.
- An XLR cable. This is the cable that allows you to connect your microphone to your audio interface.
- A guitar cable. A guitar cable allows you to connect your guitar to an amp or an audio interface.
- A pair of mixing headphones. For some recommendations, check out this guide.
Home recording is much more affordable than it used to be, and all of these things can be had for a pretty reasonable price. Understanding how to record guitar can make your recordings sound much more professional, and can save you money.
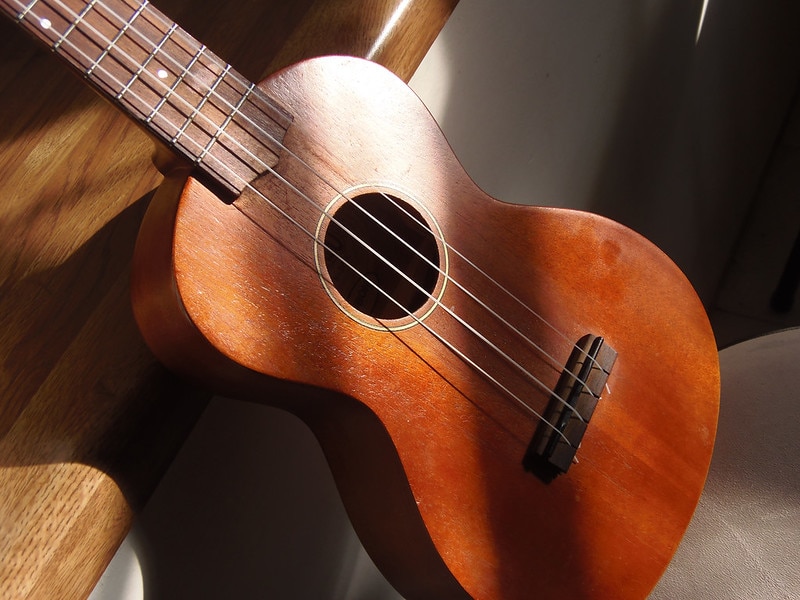
Recording Acoustic Guitar
Here, we explain everything you need to know about how to record acoustic guitar.
Recording Directly

If you’re recording an electric-acoustic guitar, you can plug the guitar into the audio interface and record the direct signal into your DAW. This is nice, as it alleviates any concerns of picking up excess noise from your surroundings. It also makes it easy to mix, and apply any creative additions to the direct sound.
However, direct recording can sometimes result in a more closed off sound, as you don’t capture any of the reflections and lose some transient detail.
If you don’t have an acoustic-electric guitar, you can learn how to record guitar using various microphone setups.
One Mic Setup
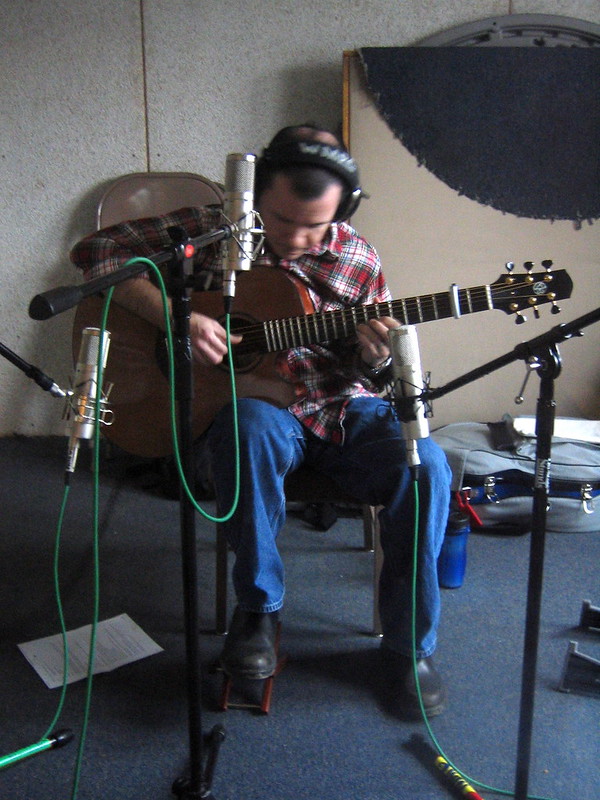
When using only one microphone to record acoustic guitar, microphone placement plays a huge role in determining the overall quality of the sound.
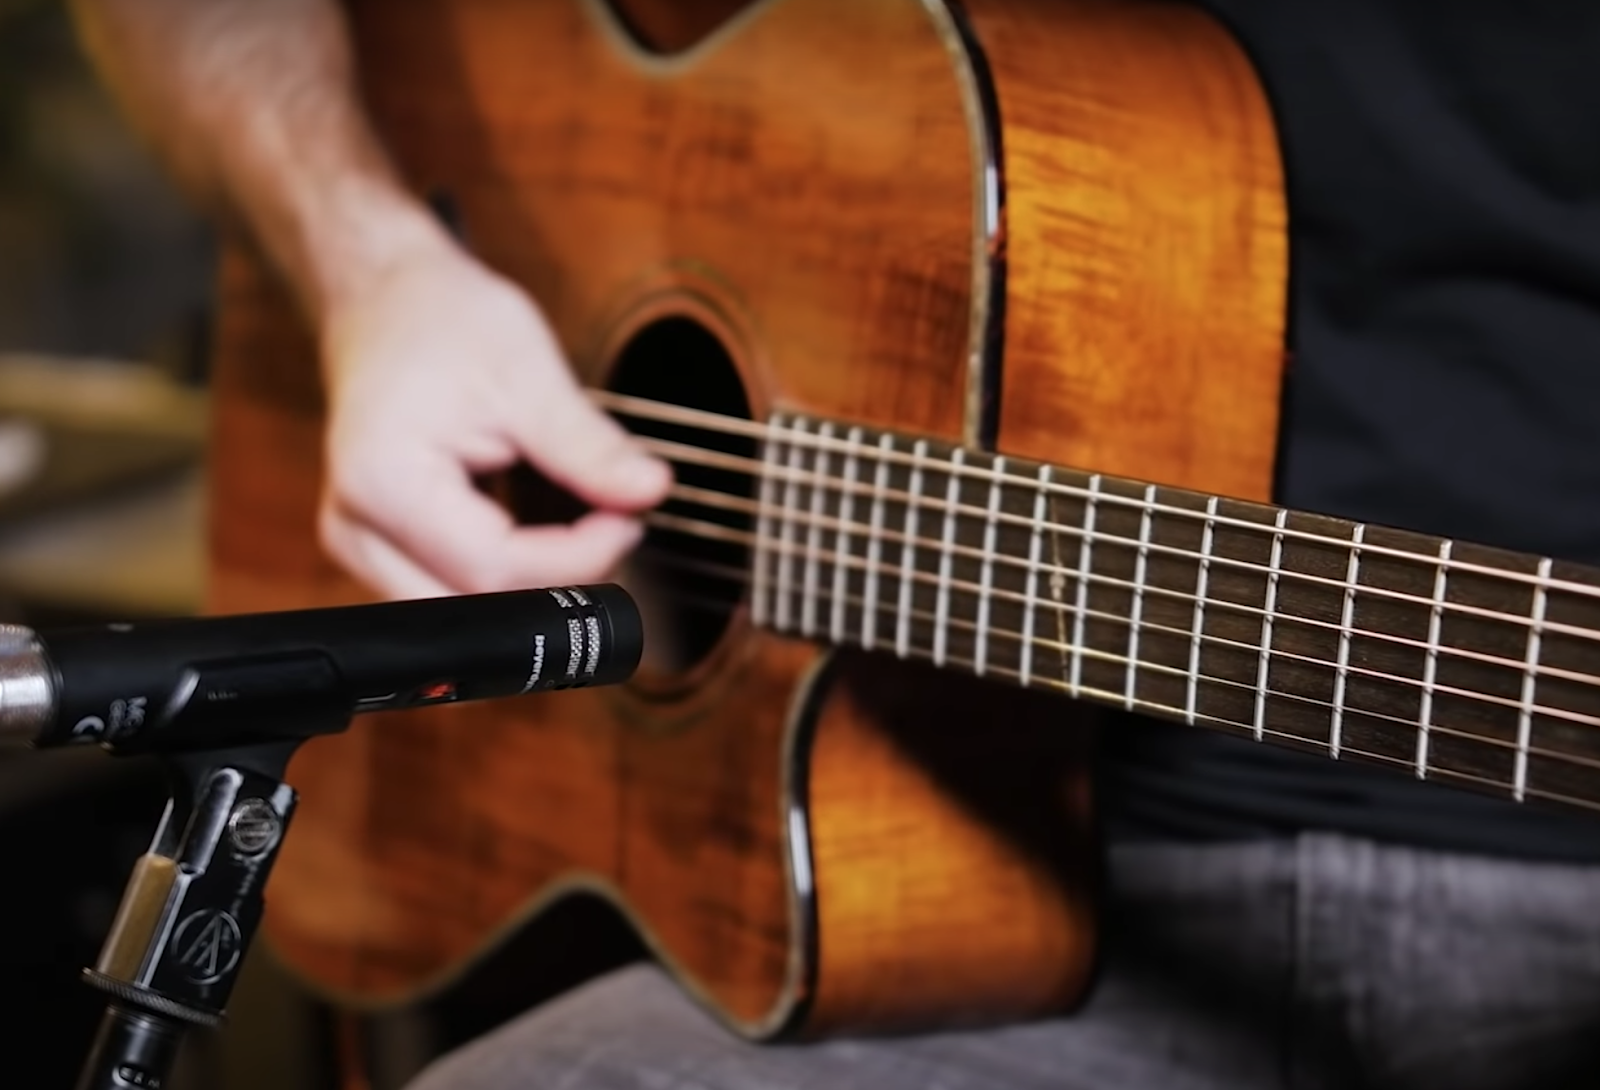
One common mistake you want to avoid is placing the microphone directly in front of the sound hole; as a general starting place, instead, position the microphone six to twelve inches away from the 12th fret. This provides a much more balanced sound, and helps eliminate excess boominess and transient overload.
If you want a bassier setup, try positioning the microphone above the sound hole, or behind and below the bridge. This provides extra fullness, and can lead to a warmer overall recording.
While one microphone setups are more than sufficient for recording acoustic guitar, a two microphone setup can often provide a more textured sound.
Two Mic Setup
One of the best tips in how to record acoustic guitar properly, the two microphone setup is fantastic for a character driven professional sound. While capturing a great recording with one microphone is definitely possible, adding another microphone can spice things up, providing added dynamism and openness. There are a few ways to go about this.
- The XY Position

This is a great starting place for beginners recording electric guitar, and allows you to capture two recordings with subtle differences. You can then blend and mix both these recordings in a DAW.
While you can move the microphones around to get your desired sound, a typical starting spot is to position one microphone in front of the 12th fret, and the other in front of the bridge.
- Top-Bottom Positioning

Positioning one microphone above another can provide an interesting stereo recording with dynamic nuance. You can start by positioning the first microphone above the guitar, pointed down and towards the bridge, with the other microphone below the guitar and pointed up at the bridge.
This provides extra space in a recording, and makes it feel very open and natural.
- Front-Side Positioning

Front-Side positioning is exactly what it sounds like – you position one microphone in front of the guitar, usually the 12th fret or bridge, and one pointed towards the side. This can help provide a recording that makes your listeners feel as if they’re in an audience.
Experimenting with different positioning is crucial in learning how to record guitar, as no one sound is perfect for everyone.
Recording Electric Guitar
Electric guitar, even through an amp, is a little bit easier to record because the sound source is much easier to track. Here, we explain everything related to how to record electric guitar. There are a few ways you can go about recording.
Recording Directly

Recording electric guitar can be done a few ways. Like an acoustic-electric guitar, you can plug an electric guitar directly into an audio interface to record the direct signal into your DAW. You can also run the signal through various pedal effects and then directly into your DAW, allowing you to achieve any sound you can imagine.
Recording through direct connection is fantastic for achieving clean performances, and ensures you’re getting pure, raw signal without embellishment from room acoustics and noise. You also don’t have to worry about microphone quality, positioning, and setup, removing an additional step in how to record electric guitar.
Recording Through A Microphone

If you do want to record an electric guitar with a microphone, you’ll need an amplifier and, obviously, a microphone capable of recording electric guitar. In addition, you’ll need a computer running a DAW and an audio interface.
To start, choose a microphone. A classic choice is the Shure SM57, and has been used in great recordings for years. Make sure that you don’t use an omnidirectional mic for recording electric guitar.
Once you choose a microphone, position the mic in front of the amp. As a general rule, the closer to the amplifier you go, the bassier the response. For a balanced sound, start with the microphone a couple inches away from the speaker, and then adjust as you go.
For a setup that highlights the midrange, position the microphone towards the center of the speaker. As you move out, the mid and higher level frequencies will lose prominence.
Common Mistakes to Avoid
The biggest mistake to avoid when recording electric guitar is oversetting your gain levels. You want to make sure that your signal doesn’t peak above 0 decibels full scale, the point where your recording “goes into the red”.
Too much gain causes clipping, and makes it much harder to mix later on. Proper gain staging is crucial when learning how to record guitar.
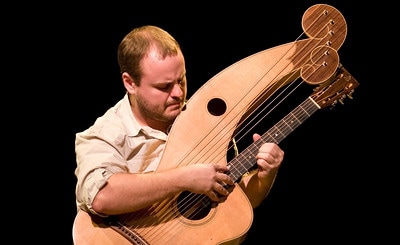
Recording Classical Guitar
Classical guitars can be recorded similarly to acoustic guitars. However, it’s more important with classical guitars to select the right microphone. For help, check out our guide here.
Classical guitars are more delicate, and often have a broader middle high range.
Like with acoustic guitars, if using one microphone, start by positioning six to twelve inches from the 12th fret. You can also position it in front of the bridge for a bassier sound.
The closer you go, the more the microphone will pick up. You can generally go closer when miking a classical guitar than you can when miking an acoustic guitar, as the nylon strings on a classical guitar are much less prone to squeaks and other unpleasant noise.
If you choose to use two microphones, you can utilize the same positions outlined in how to record acoustic guitar.
Classic Beginner Mistakes
When considering how to record guitar, many people fail to give proper consideration to the microphone. Many kinds of microphones can be used for recording guitar.
Condenser mics will typically deliver more clear, precise recordings, but dynamic mics will provide more character and variability. Playing around with different microphones can help you get the sound you’re looking for.
Additionally, particularly acoustic guitars, many people fail to consider their instruments’ shape. A dreadnought body acoustic guitar will have more low end than an auditorium body acoustic guitar, something to consider with microphone placement.
FAQ
How can I record guitar into my computer?
For those starting out, how to record guitar on a pc is a pretty simple process. You need a program called a digital audio workstation. This acts as the landing place for the guitar you record, and allows you to mix, master, and work your recording.
Can I plug a guitar into a microphone input?
No; if your computer has a 3.5 mm microphone connector, you will not be able to plug an electric guitar directly into that to record the signal. However, you can plug a guitar into an XLR slot on an audio interface to feed the signal directly into your computer.
How loud should I record my guitar?
You generally want to keep your recordings around the -18dB level. Clipping should be avoided at all costs in a recording, as it sounds unnatural and pulls the listener out of the recording.
How do I reduce buzz in my recordings?
Ensuring that there’s no electrical interference is the first step in how to record guitar while minimizing buzz. You can also try adding a low cut filter, or using a directional microphone.