How To Record Guitar: A Comprehensive Guide
May 8, 2022
The Different Types of Drums: From Traditional to Modern
May 26, 2022
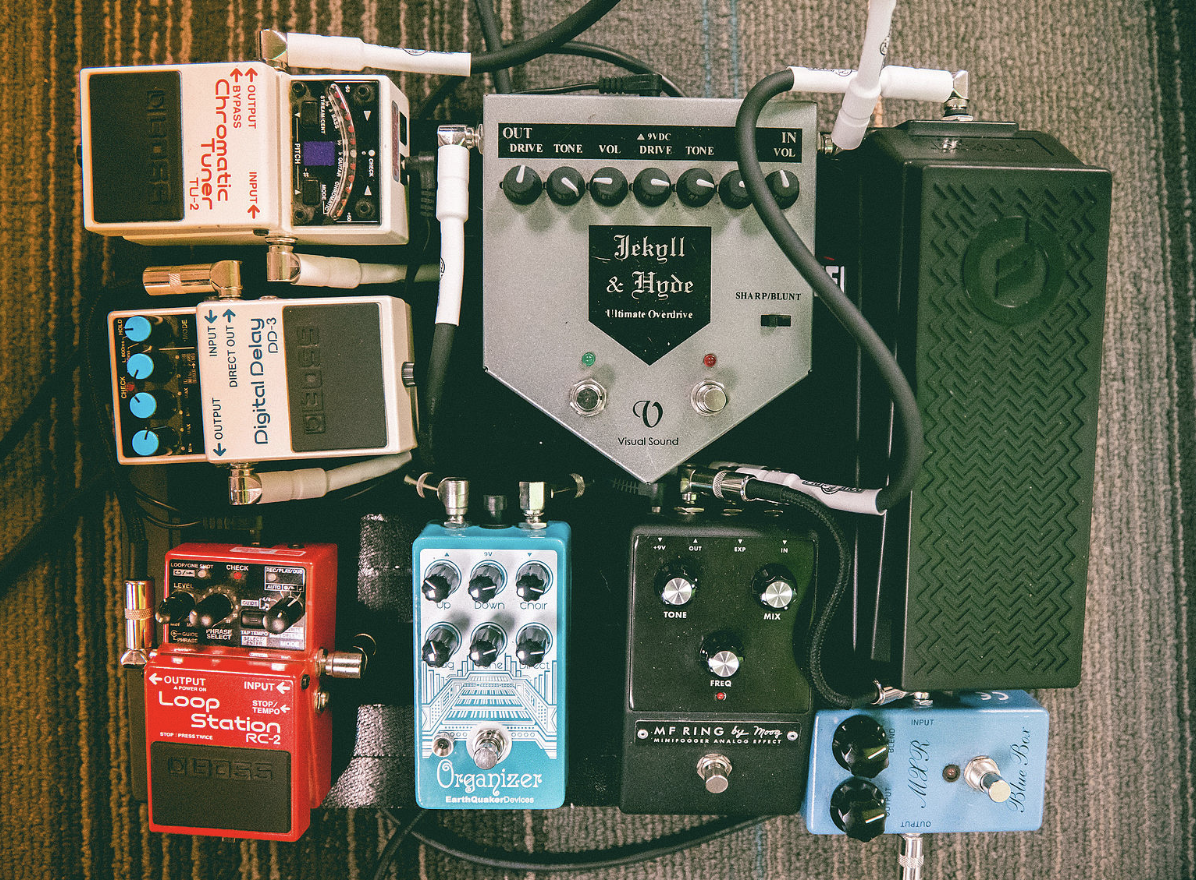
Guitar pedals have the ability to transform your tone from subtle effects like compression to out of this world sounds like delays and pitch shifters. But having all the pedals in the world is useless if you don’t know how to order them properly.
Guitar pedal order is an important bit of knowledge to understand and master if you don’t want your tone sounding muddy and without this knowledge, your expensive pedal investments would be for nothing.
Today we’re going to teach you the proper way to order your pedals and teach you the basics of what these pedals do to help you make an informed decision about your next pedal purchase.
Connecting your Guitar Pedal Order
To connect your pedals together you will need to get your hands on some patch cables. These are small guitar leads that save you the cable nightmare of connecting pedals with full size leads.
The shorter length of these cables also means your guitar signal has less distance to travel between cables giving you a stronger signal and making your tone sound clear. Once you’ve got some patch cables and a way to power your pedals it’s time to connect your guitar pedal order together.
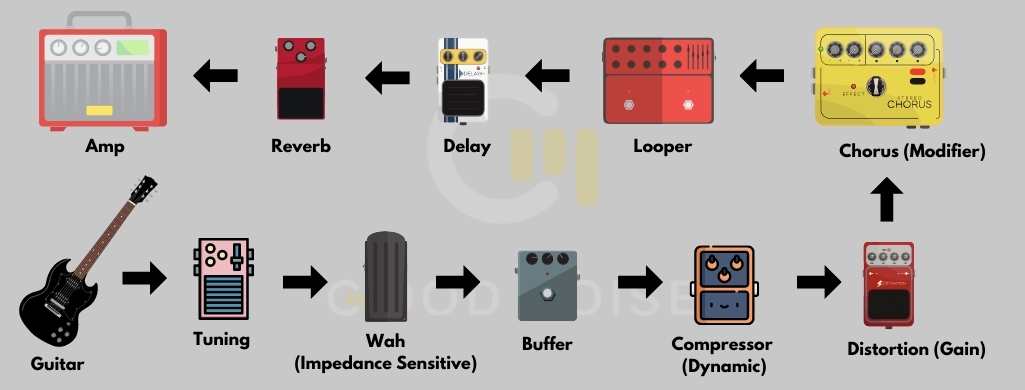
The best way to do this is to connect your pedals in reverse order. This allows you to check that each pedal is connected properly as you connect them. To reiterate plug your pedals in this order:
AMP (END) <- Reverb Pedals <- Delay Pedals <- Looper Pedals <-Modifier Pedals (Phasers, Flangers, Chorus) <- Gain Pedals (Overdrive, Distortion) <- Dynamic Pedals (Compressors, Pitch Shifters, Octave) <- Buffer Pedals <- Impedance Sensitive Pedals (Wah, Fuzz) <- Tuning Pedals <- GUITAR (START)
Starting with the last pedal in your chain plug it into your amp through the output plug and plug your guitar into the input. Make sure the pedal is working correctly before moving on.
Now disconnect your guitar and use a patch cable to connect the next pedal. Again moving in the reverse order outlined above. Do this until all your pedals are connected and make sure to continue checking your pedals are working with each one you add.
This method can also be used for troubleshooting unwanted noise or hum in your guitar pedal order. To do this start at the end of your pedal order and plug your guitar directly into the pedal. If it works properly then move to the next. Go through each of your pedals until you find the problem starts happening again.
Once you’ve identified which pedal is creating the noise you can investigate how to fix it. A common reason that pedals can create noise is using the incorrect power supply.
The 9 Pedal Categories
Your guitar pedal order can be split into 9 pedal categories. Master the order of these categories and you’re on your way to understanding the ins and outs of guitar pedal order.
Firstly there are a few terms you should get familiar with. First, you should know that the “start” of your pedal chain refers to the pedal that you plug your guitar (or synth) into. This can also be called the first pedal in the chain. Respectively the “end” of your guitar pedal order refers to the pedal that gets plugged into your amplifier. Another term for this is the “end of your signal chain”.
Now that we’ve got that out of the way let’s get into these 9 pedal groups. Each group is numbered with its place in your guitar pedal order.
1. Tuning Pedals
Tuning pedals are pedals that serve a straightforward purpose; to tune your guitar. While it’s not a very exciting pedal to include in your chain it is a pretty essential one if you’re performing in a band.
While numerous apps can tune your guitar a dedicated tuner pedal has a huge advantage over them. That advantage is that you’re plugging your guitar input directly into it. Unlike an app that captures the sound from everywhere in the room; a tuning pedal can only hear your guitar making it perfect for noisy live music environments or practice spaces where you’re often competing with the sounds of other instruments and the crowd.
Where To Put Tuning Pedals in Guitar Effects Order
Tuning pedals should always come at the very start of your guitar pedal order. This gives the tuning pedal the cleanest signal of your guitar without any interference from the rest of your pedals.
2. Impedance Sensitive Pedals (Wah & Fuzz)
Impedance sensitive pedals are guitar pedals that react to the way you play. The sounds they produce change based on whether you’re playing softly or forcefully.
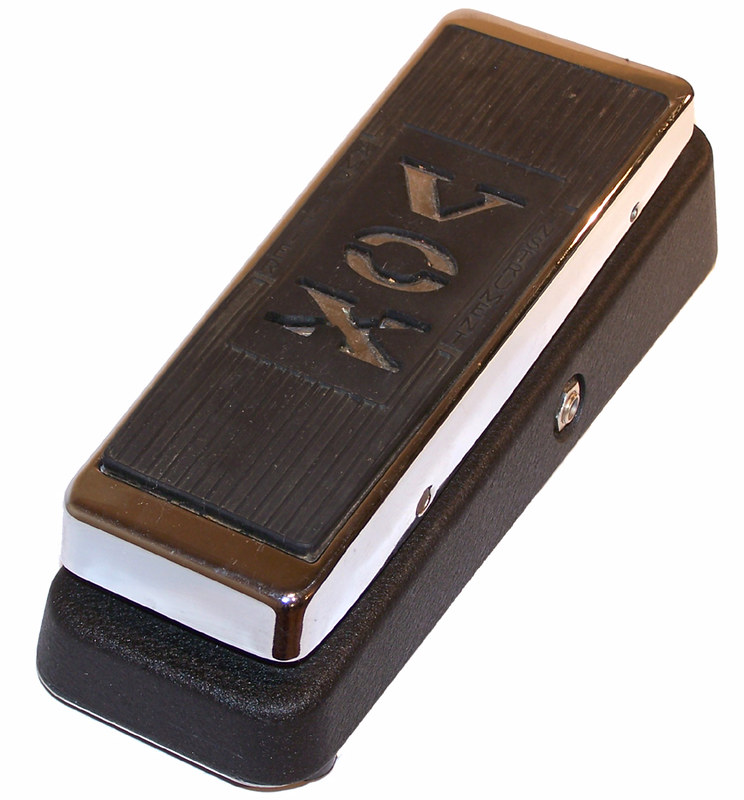
Wah pedals pass your guitar through a filter curve that is determined by how far the pedal is pushed in. Pushing this pedal in and out creates a wave in this filter creating the iconic wah sound that it is known for.
It has other uses as well, for example, if pushed all the way in it filters out all of your low end. This effect has been used by guitarists to make their solos shine through the mix with a jaw dropping tone.
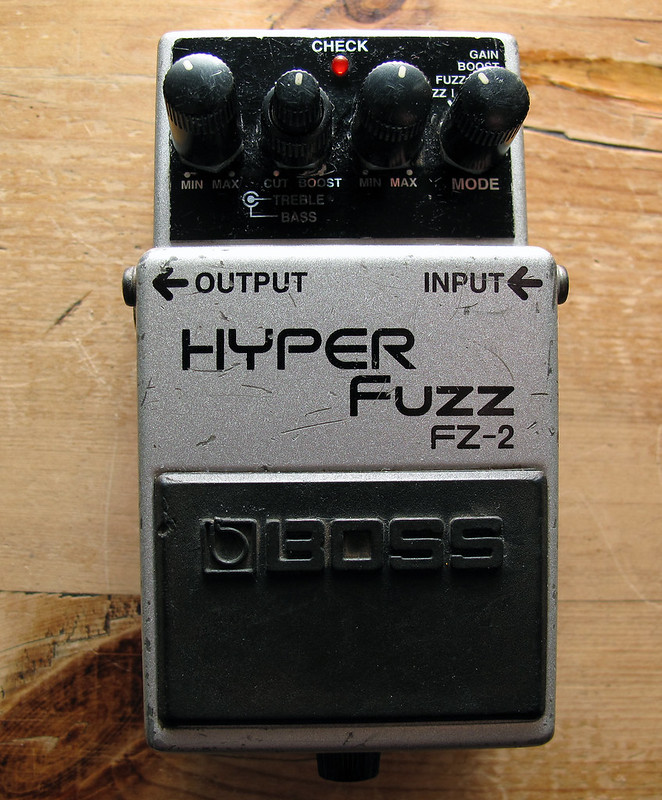
Fuzz pedals are surprisingly not part of the gain pedal group. This is because a fuzz pedal gives you far more control over how wild the pedal will sound. Playing softly into a fuzz pedal will give you a blistering treble lead with huge sustain. While playing forcefully will create a heavy chaotic tone.
Where To Put Impedance Sensitive Pedals in Guitar Effects Order
Again the control of these pedals relies on the pedal being able to react to your guitar so keeping it close to the start of your guitar pedal order is essential.
Placing them any later in your guitar pedal order will mean you can’t use the sensitivity of the pedals to create unique sounds. Instead, they will react to the rest of your pedals. This can lead to tone drain and ruin the sound of your entire pedal order.
3. Buffer Pedals (or at end of the chain)
Buffer pedals serve a straightforward purpose but are essential for pedalboards with a lot of pedals.
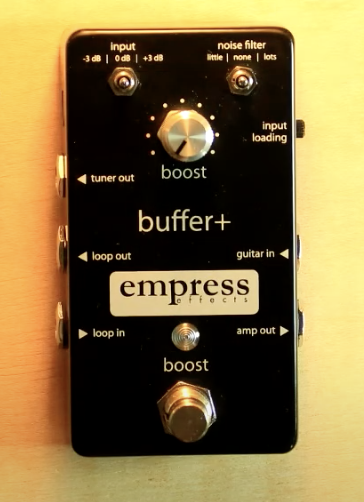
Buffer pedals maintain your signal strength as it passes through your pedal order. With each pedal and cable that your guitar sound passes through it loses a bit of its power and volume. This can lead to your tone becoming weak and flat.
By using a buffer pedal your signal is re-amplified as if passing back through your guitar’s pick-ups. This isn’t essential if your running a couple of pedals but comes in handy when you start using a lot of pedals on your board.
Where To Put Buffer Pedals in Guitar Effects Order
Buffer pedals should either be placed near the start of your guitar pedal order or at the end. Place it at the start if you’re using a lot of pedals.
Place your buffer pedal at the end of your chain if you’re using a long guitar lead to connect your last pedal to your amp.
4. Dynamic Pedals (Compressors, Pitch Shifters, Octaves)
Dynamic effects change the way your guitar is perceived by the rest of the chain. They alter either the tone, pitch, or harmonics of your guitar in some pretty interesting ways.
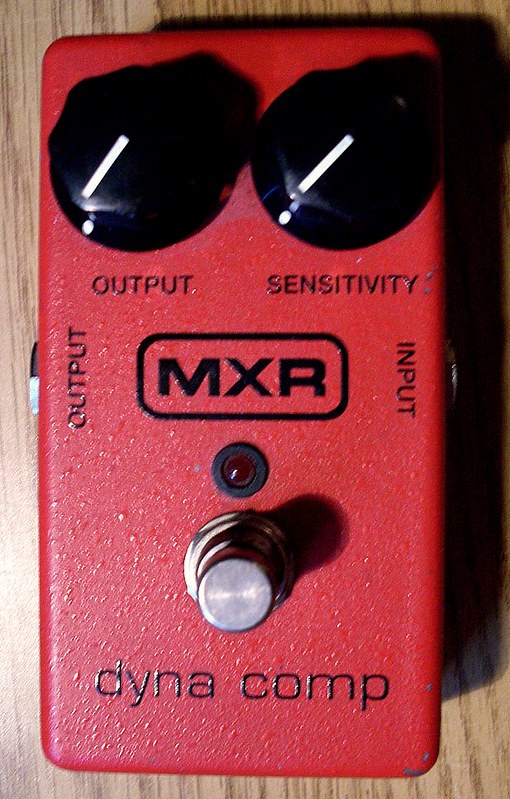
Compressor pedals condense your tone into a less dynamic but more consistent sound. This pedal is ideal for lead guitar as it makes the force in which you pluck your strings less important. Hit a string too hard or too soft and it won’t matter so much. Instead, the compressor pedal will balance out your volume and keep you sounding even.
Pitch shifter pedals do exactly what you think. They take what you’re playing on your guitar and allow you to pitch it up or down. They don’t typically re-pitch in musical keys instead they allow you to repitch however you like this can lead to some very alien sounds that take time to master.
Pitch shifters open your guitar up to being played in keys that are impossible to tune to so if making your guitar sound completely different then a pitch shifter is essential.
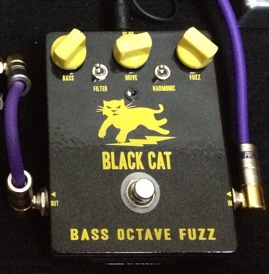
Octave pedals work similarly to pitch shifters except it’s a bit easier to make them sound musical especially if you’re playing with other musicians. Octave pedals pitch your guitar up or down within an octave range.
This means they play a higher or lower octave of the note or chord you are playing, instead of the free pitch control of a pitch shifter. This makes them useful for filling in for a bass line or playing higher notes without moving your finger positions.
Where To Put Dynamic Pedals in Guitar Effects Order
Due to the sound manipulating nature of dynamic guitar pedals they should be placed near the start of your guitar pedal order. This helps them to track the sound of your guitar accurately before it gets interfered with by the rest of your effects. Placing them any later can lead to them sounding messy and ruining your tone!
5. Gain Pedals (Overdrive, Distortion)
Gain pedals affect the output of gain by boosting your signal in one of two ways. Overdrive and distortion pedals serve a similar purpose to heat up your output and push your amp to its limit. They’re usually one of the first pedals you buy due to their extensive use in a variety of genres but let’s take a look at the differences between the two.
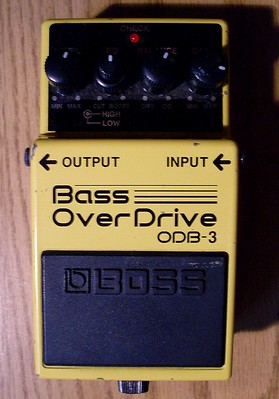
Overdrive pedals are the most authentic way to create dirt and drive in your tone. They are subtler than distortion pedals and create more of a crunchy tone.
Overdrive pedals are based on an old technique used in blues music where musicians would turn their amps to the max causing them to clip and create a distorted tone. These days overdrive pedals boost your guitar’s signal inside the pedal so that you don’t have to keep your amp cranked.
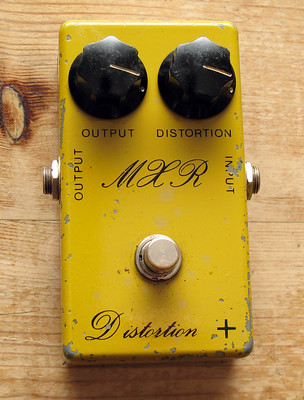
Distortion pedals are the more chaotic sibling to overdrive pedals. They also boost your signal to create gain and loudness; crushing your tone down to give it that gritty distorted sound.
They sound aggressive due to the fact they not only boost your tone but add dirt directly on top of it. These pedals are responsible for the sounds of genres such as rock, heavy metal, and grunge. So you’re missing out if you haven’t got one in your guitar pedal chain.
Where To Put Gain Pedals in Guitar Effects Order
Gain pedals should appear about mid-way through your guitar pedal order. This stops them from interfering with the dynamics of your tone produced by the pedals that come before them.
They tend to chop up your sound so anything that uses time or ambiance should always come after them.
6. Modifier Pedals (Phasers, Flangers, Chorus)
Modifier pedals deal in the world of layering and filtering. They’re very popular in genres that are considered indie or psychedelic. They also add color to your tone making it sound robust and synthesized.
Phaser pedals apply a high pass filter to your guitar’s tone. This filter is modulated at various rates to make your guitar sound like a spaceship passing overhead. If you’ve ever listened to psychedelic rock and wondered how the guitars sound like they’re hovering above the rest of the band, you’ve finally found an answer. That sound is the work of a phaser pedal set to a slow modulation rate.
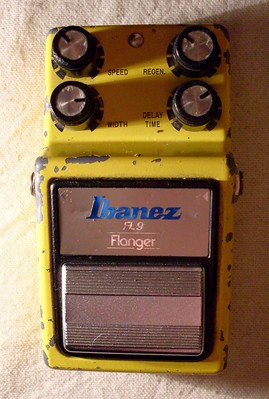
Flanger pedals give your tone that classic jet engine sound by taking your sound and doubling it. The unique sound of a flanger pedal is created by playing back your sound twice, however, the second layer is delayed slightly creating a quick delay type sound.
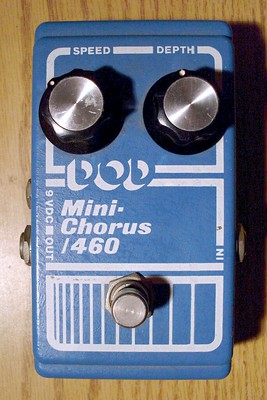
Chorus pedals are similar to Flanger pedals except they add multiple layers to your tone without any delay. This is used to replicate the sound of a chorus of voices except with a guitar. When used with a distortion pedal it can make for a massive sounding tone and is used a lot in classic rock!
Where To Put Modifier Pedals in Guitar Effects Order
Modifier pedals should appear near the end of your guitar effects order. This is because you want all of your tone to be set by the pedals before them to make the filtering and doubling effects of these pedals work properly.
You want them to come before any reverbs or delays however as these effects can drain out the effectiveness of modifier pedals, particularly phasers and flangers.
7. Looper Pedals
Looper pedals are straightforward, they allow you to record a sample of yourself playing and have it loopback infinitely. Most loopers will also allow you to layer recordings of yourself playing to create arrangements on the fly.
Some looper pedals even allow you to playback your recording in reverse to change things up when performing live.
Where To Put Looper Pedals in Guitar Effects Order
Looper pedals want to come right at the end of your chain, the only effects that should come after a looper are time based effects like delays and ambiance effects like reverbs.
If you put the looper after these it will record the repeats or trails and will make your loop sound out of time or muddy if you haven’t set your pedals perfectly. It also means you can adjust the wetness of your reverb and delay while you’re recording loops. This is useful for making your song and performance sound professional.
9. Delay Pedals
Delay pedals repeat what you play depending on how many repeats or the amount of feedback you set on the pedal.
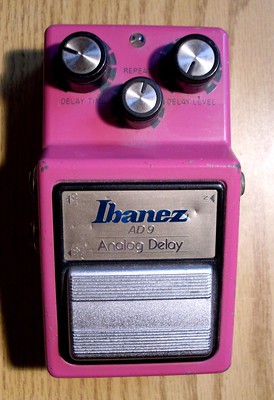
Most delay pedals have a tap button where you can tap in a bpm so that the delays repeat in time with what you’re playing. If you don’t time your delays correctly you can end up with a lot of off-beat sounds that make your performance sound out of time.
Some delay pedals even offer stereo delay. This can create effects like ping pong delay where your repeats will bounce to the left and right of your stereo field creating a trippy 3D effect.
Where To Put Delay Pedals in Guitar Effects Order
Delay pedals are a time based effect and should always come right near the end of your guitar pedal order. If you put them anywhere near the start then each repeat will be passed through your other effects. This makes your tone sound unclear and messy. The only thing that should come after delay is reverb.
10. Reverb Pedals
Reverbs are up last, they add an overall ambiance to your sound either to create an effect of being in a larger environment or to help wrap your tone together. Reverbs can be dialed anywhere from a subtle trail to making your guitar sound like it’s being played underwater or in outer space.
Where To Put Reverb Pedals in Guitar Effects Order
Reverb pedals should be at the very end of your guitar pedal order as they act as a blanket for the rest of your tone. If they appear any earlier in your pedal order they won’t work properly and ruin the sound of the rest of your pedals.
You want all of your effects to run into the reverb so that the ambiance effect is applied to your entire sound.
How to Connect your Guitar Pedals
Connecting your guitar pedal order together is the next step you need to master. There are two parts to connecting your pedals; powering them and using patch cables.
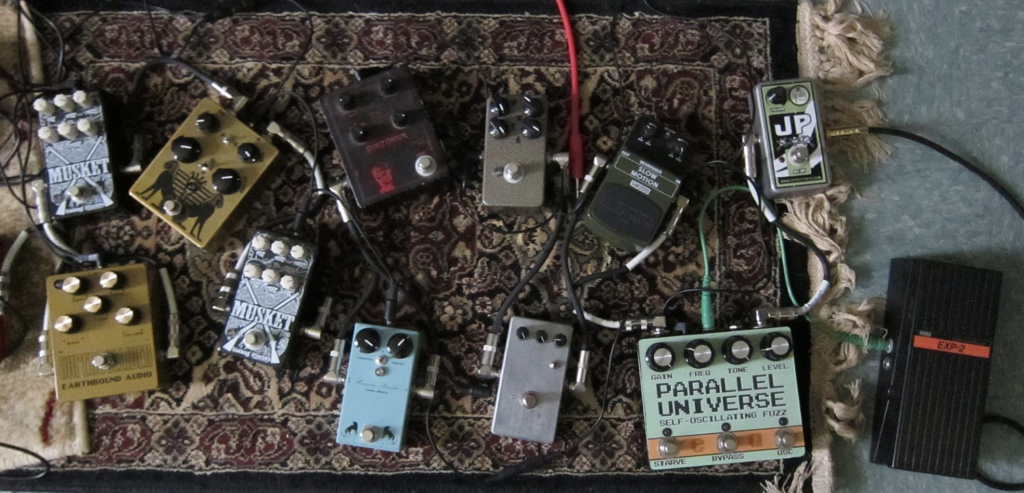
Powering Your Pedals
The simplest way to power your guitar pedals is to use 9-volt batteries, however, this isn’t cost effective or convenient.
Daisy chaining is one method you can use where a single 9-volt power supply has a chain of power connectors attached. Each of these connectors delivers the correct amount of power to each pedal and minimizes the need for multiple cables or batteries.
The only issue with daisy chaining is that it can create a lot of electronic interfaces. This can cause an annoying humming noise making your tone unclear. A better solution is to use a guitar pedal power brick. Power bricks have anywhere between 2 and 20 power outputs so it’s more than enough to power even large pedal boards.
The best part is that power bricks deliver isolated power to each of your pedals meaning you don’t have to worry about electric interference ruining your tone like with the daisy chaining method.
Connecting your Guitar Pedal Order to Your Amp
There are a couple of ways to do this. The most common way is to plug the last pedal in your guitar effects order directly into your amp just like you do with your guitar. This will work but it won’t give you the best tone and won’t allow you to use stereo effects.
The alternative way is to use your amps effects loop. The effects loop places your pedals between the input and the pre-amp of your amp. Not every amp has an effects loop so to work out if you have one check the back of your amp and there if there is an FX LOOP input and output on the back then make sure to use this.
To connect your pedals with your effects loop do everything the same except run a patch cable from the FX LOOP output into the first pedal in your pedal over. Connect all your pedals together and then plug the last pedal into the FX loop input.
Next plug your guitar into the guitar input on the front of the amp, just like you would if you were using no pedals at all.
Using the effects loop will make your pedals sound better as they are being powered and processed individually without putting pressure on the pre-amp. The result is a clearer tone with less chance of feedback and clipping.

