
Is Saxophone Hard to Learn? – The Beginner Guide
November 17, 2021
How to Learn Jazz in 6 Steps
November 19, 2021
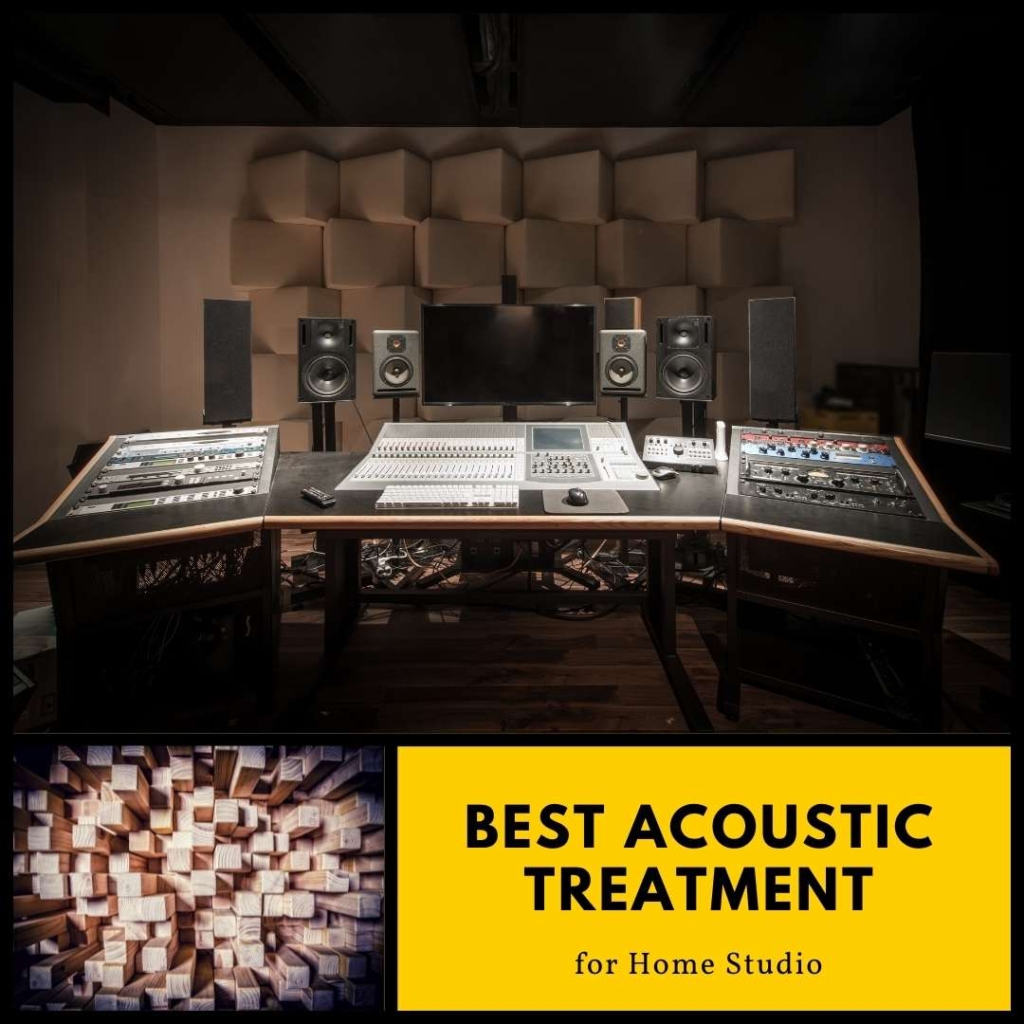
Controlling the reverb in a home studio can be challenging. Expensive microphones and fancy monitors don’t always cut it. Sometimes sticking to the basics can save you money and effort.
Before you splurge on equipment upgrades, you should first find the best acoustic treatment for home studios.
Best Acoustic Treatment for Home Studios: Top 5 Picks
Without further ado, let’s take a look at our top picks:
1. Auralex LENRD Bass Traps

Pros:
- 1.5 NRC
- 63Hz Absorption
- Longer pieces for horizontal coverage
- High-density foam
- Arrives full-sized (not compressed)
Cons
- Expensive
Auralex is a brand name that just requires no introduction. This kit is available in doubles, a four-pack, or an eight-pack.
The corner-shaped foam functions as a Low-End Node Reduction Device or LENRD. Since they’re longer than regular bass traps, they can be mounted both vertically and horizontally.
This is a high-quality, highly durable kit that’ll get the job done, but it can be a bit pricey for a beginner.
2. Mybecca Bass Traps

Pros:
- Affordable
- 1.32 NRC
- Easy installation
- Reduced flammability
Cons
- Not pro-level
- Arrives compressed; you’ll have to let them inflate first
Mybecca’s acoustic treatment foam is surprisingly high-quality. For the price, the bass traps offer a great bang for bucks.
This Mybecca kit comes in two or four identical pieces. The pieces are smaller than Auralex’s traps, but they can still make a noticeable difference in the room’s reverb.
The foam is dense and uniformly cut. It looks good and does a decent job of absorbing low-frequency late reflections.
3. DEKIRU Bass Traps

Pros
- Affordable
- Comes in a larger pack size
- True black design instead of charcoal
Cons
- The smell might be irritating at first
- Arrive compressed and take a while to fully inflate
DEKIRU bass traps are more of an option for those on a tight budget. They work nicely on a beginner level as long as you don’t expect anything fancy out of them.
They’re even smaller than the Mybecca traps and their surfaces aren’t as detailed. However, they work well in basic recording sessions.
This might be a good option if your room’s reverb is already decent and you just want an extra boost. DEKIRU offers an eight-pack package only for this kit.
4. TroyStudio Groove Acoustic Panels

Pros:
- Innovative design
- 0.75 NRC
- Customizable by cutting
- Available in two color options
- Good customer service
Cons:
- Arrives compressed
- Irritant scent
- Requires bass traps for ideal acoustic treatment
TroyStudio’s groove panels are eco-friendly and of medium density. What we really liked about them is the cool, textured surface. They can easily make a home studio look professional.
This setup comes in a pack of six panels. However, we’d recommend getting two packs for wider coverage. The foam has a bit of a strong scent, too. We’d recommend airing it out for at least a couple of days before you hang them up.
You also might want to buy heavy-duty tape to get the pieces to stick nicely.
5. JBER Acoustic Panels

Pros:
- High density
- Effective echo deadening
- Three color options are available
- Suitable for smaller spaces
- Fire resistant
Cons:
- Arrives compressed
- The setup might take a while
- Requires bass traps for ideal acoustic treatment
JBER is one of the most highly recommended brands that offer acoustic treatments. Their panels stand up to the hype with high quality and performance.
However, we’re always a bit disappointed when brands label acoustic panels as “soundproofing” foam (more on that later.)
With a 12-pack, it’s easy to cover an entire wall with these 12” panels. The foam cut is very sharp and aesthetically pleasing, too.
How to Choose an Acoustic Treatment for Home Studios
It’s important to keep in mind that soundproofing and acoustic treatments are two entirely different things. Don’t expect acoustic foam to soundproof a studio; they’re only there to eliminate unwanted noise from inside the room.
With that in mind, let’s see how you can find the best acoustic treatment for you:
Do the Clap Test
Before buying any setup, you’ll need to estimate the environment of the room. How bad is the reverb? Are there too many reflective surfaces to worry about?
The clap test is a simple way to check if your studio needs heavy-duty treatments or a simple setup will do. Here’s how Primacoustics recommends doing the clap test.
Know Your Options
To avoid unnecessary expenses, go by ranking and start at the higher-priority treatments:
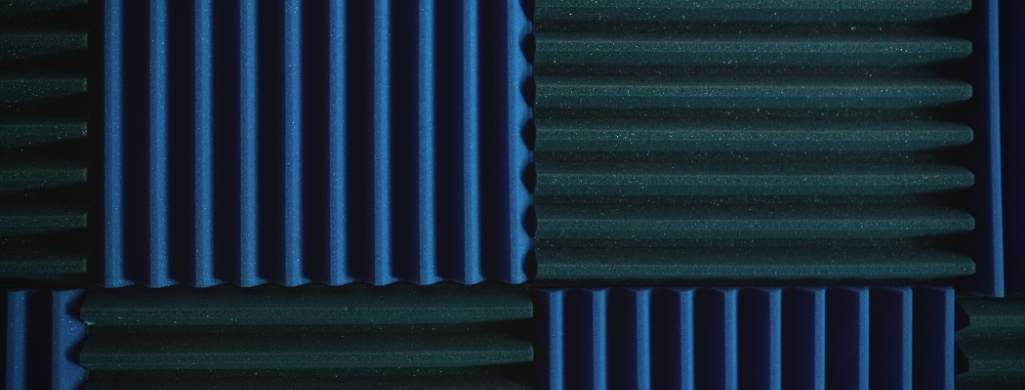
Bass Traps

When we say stick to the basics first, we mean go for bass traps. These treatments help eliminate low-frequency reverb.
The most common (and more affordable) type of bass trap out there is porous absorbers, mainly just foam. Other materials like fiberglass and wool can also be used, but we’d recommend starting with foam ones.
Acoustic Panels

Acoustic panels target mid/high frequencies. While they can look really cool, they aren’t a stand-alone treatment.
If you only have the budget for one treatment, go for the bass traps. Later on, you can add paneling as you see fit. Keep in mind that DIY acoustic panels are also an option.
Diffusers

It might seem counterintuitive to use a diffuser when you’re trying to lock down all the “stray” sound waves.
However, some may find that an isolated and treated room can sound a bit dull or overdamped. That’s why a diffuser can spice up your reverb, but it still comes at a lower priority.
Make the Most Out of the Layout
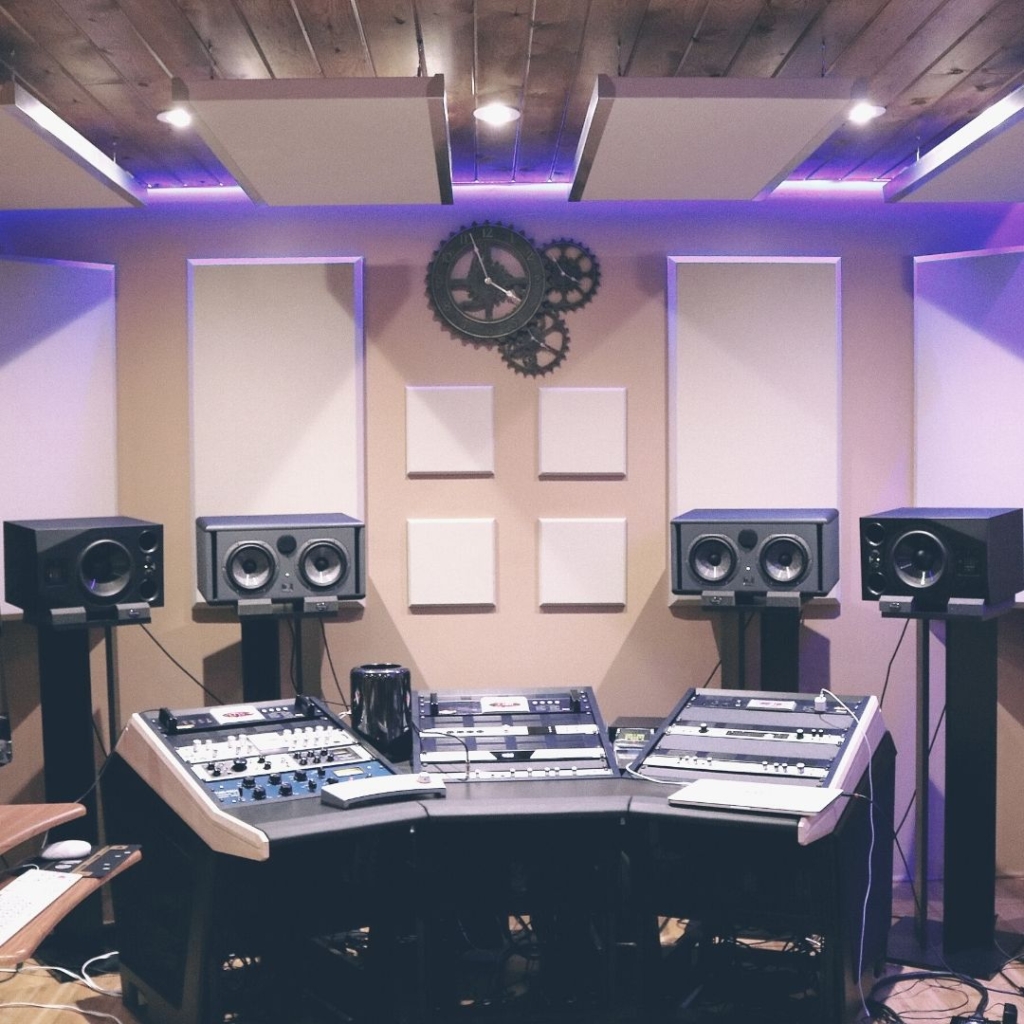
There’s always a way to balance the budget with performance. As long as you’re mindful about your paneling distribution, you can save some bucks. If you can’t cover all the corner space, place your bass traps high. This gives better coverage for most microphones.
Panelling an entire wall, floor to ceiling, can seem very enticing. Not everyone has the budget for it, though. If you can’t afford full coverage, try alternative panels on opposing walls. Think reverse chess boards, but on parallel walls.
In limited spaces, you can panel one side only. Remember to place the microphone in a way where it’s shielded with the padded side.
Wrapping Up
Acoustic treatments are more than just decorative props. They can transform the quality of your sounds completely. The key to getting the best acoustic treatment for home studios is laying down the basics before splurging on accessories.
A regular foam bass trap, like Mybecca’s, should be your first purchase. If you still have room for spending, start adding panels. JBER makes durable acoustic panels at affordable prices.
You may also like,
