Hello world!
January 7, 2022
嘻哈音樂系列專訪- 衛柔伊Zoe(台灣)
February 14, 2022
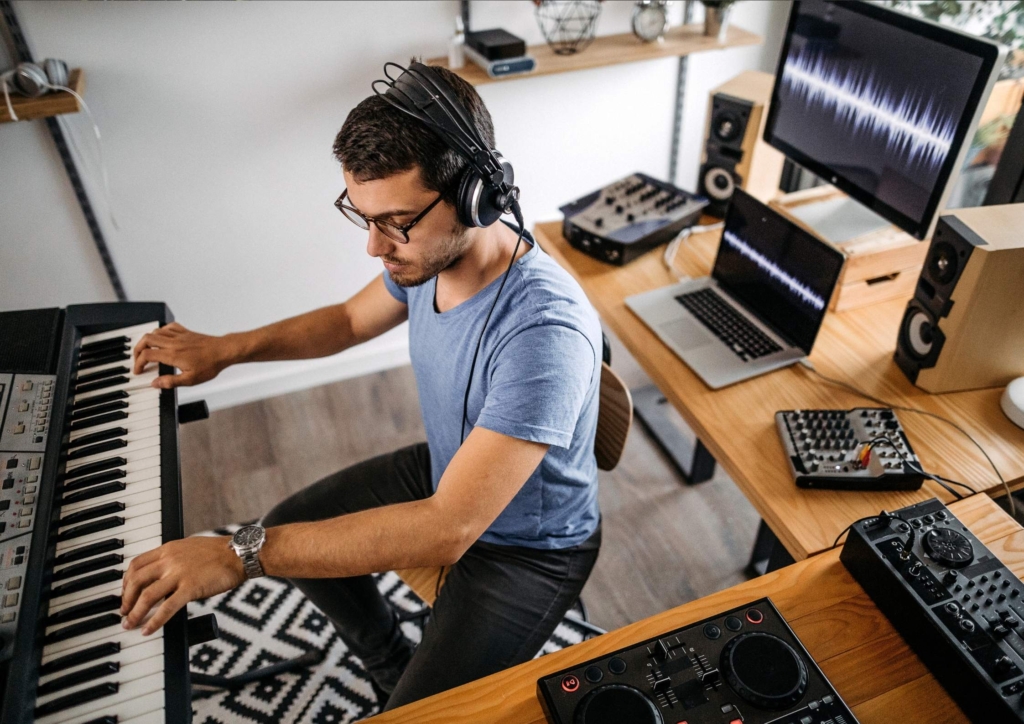
When you’re an artist, there’s always a need to create. Whether it’s music, art, or something else entirely, the need is still there. And when that creativity starts to wane? You could be in for some trouble!
That’s because your creative well needs constant refreshing and attention to keep going strong. But how do you stay on top of things? Well…you can make a bedroom home recording studio.
Building one at home is much easier than you might think – all it takes are a few basic tools and equipment as well as a little bit of construction know-how (and maybe even some sweat equity!). It doesn’t matter if you’ve never picked up a hammer before: with these simple instructions and tips from expert builders, you too can have the perfect place to record your music and vocals in the privacy of your bedroom.
Let’s get started!
How do I set up a bedroom home recording studio?
The first thing you need is an idea of what kind of bedroom studio you want. What kind of equipment do you need? How should it be laid out? Where will all the cables go? Taking some time to plan this out before starting will save you a lot of headaches later on.
Consider how much space and equipment you’ll need long-term as well as short-term so that everything goes smoothly from start to finish. You may also want to invest in a general contractor or interior designer at this point, depending on your level of expertise with home construction.
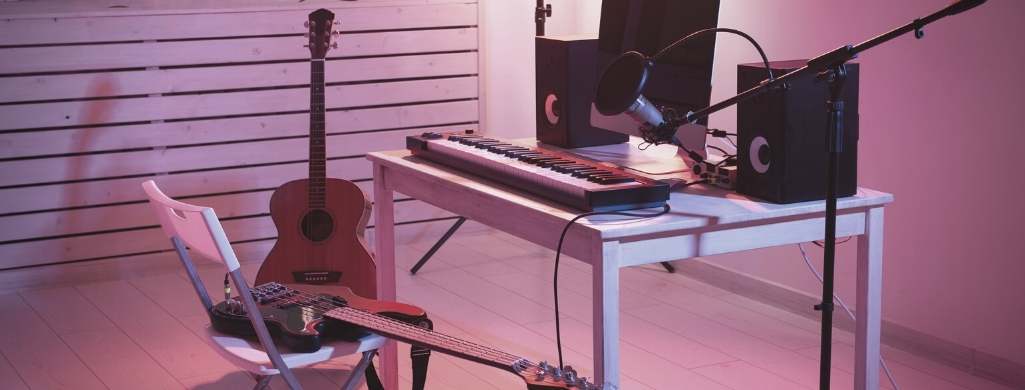
Next, you can start collecting your materials. The basic list of bedroom studio essentials includes:
- The computer itself (the motherboard, power supply, memory modules),
- a case or rack-mounted chassis for your hard drives and sound card(s),
- a keyboard and mouse for control purposes,
- a control surface,
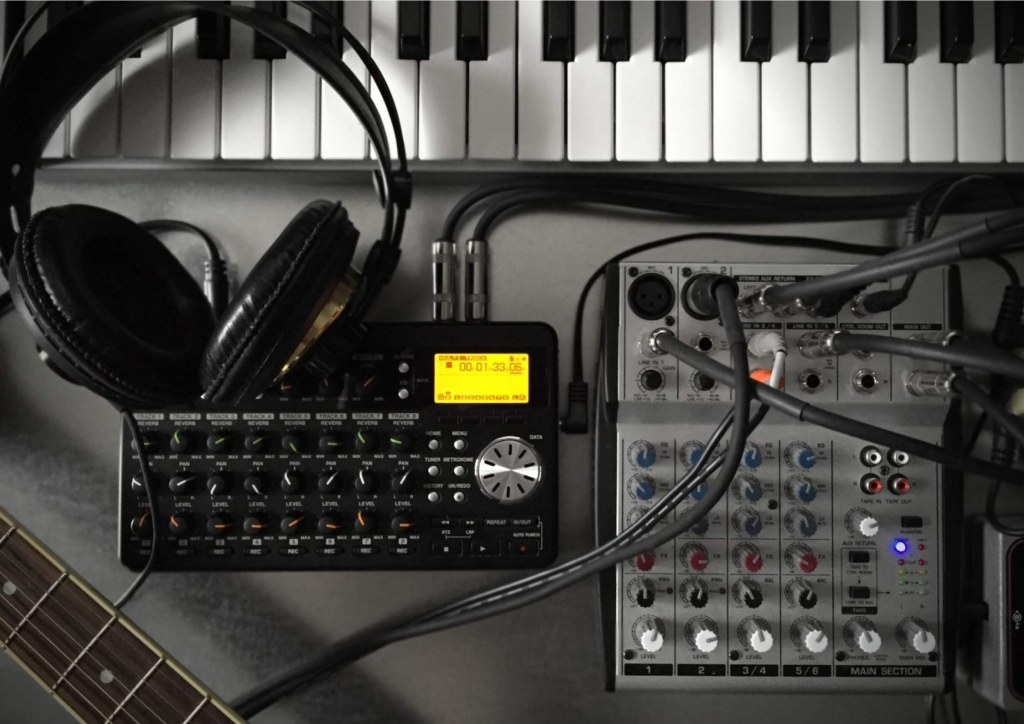
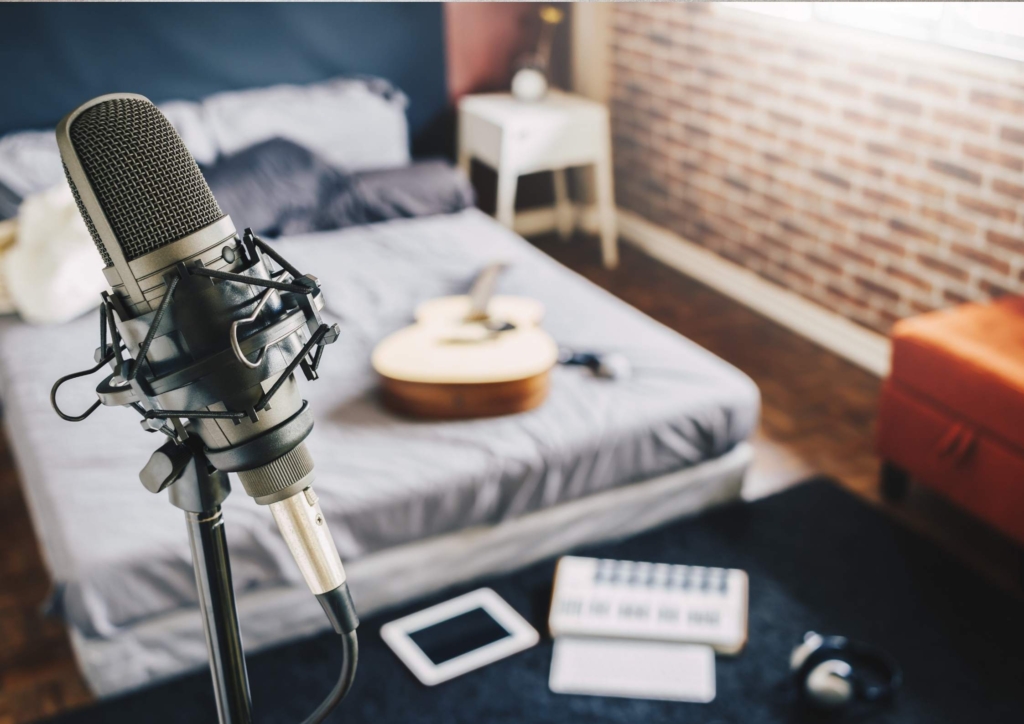
- a microphone or two depending on how many available inputs you’ll need to run in mono/stereo mode (you’re better off with 2 channels rather than 1 that’s not enough),
- an audio interface with at least 2 analog XLR combo jacks that work in balanced mode (if using dynamic mics then you don’t need phantom power),
- a few mic stands, cables, and pop filters.
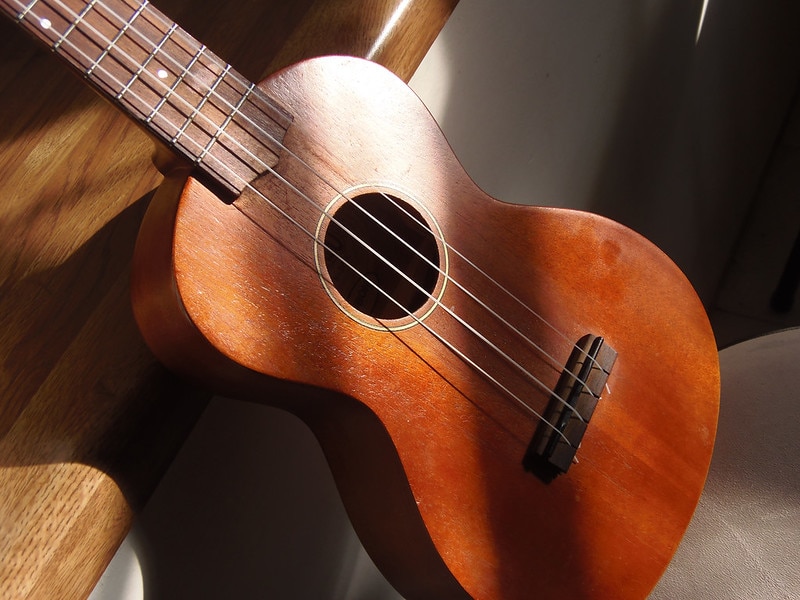
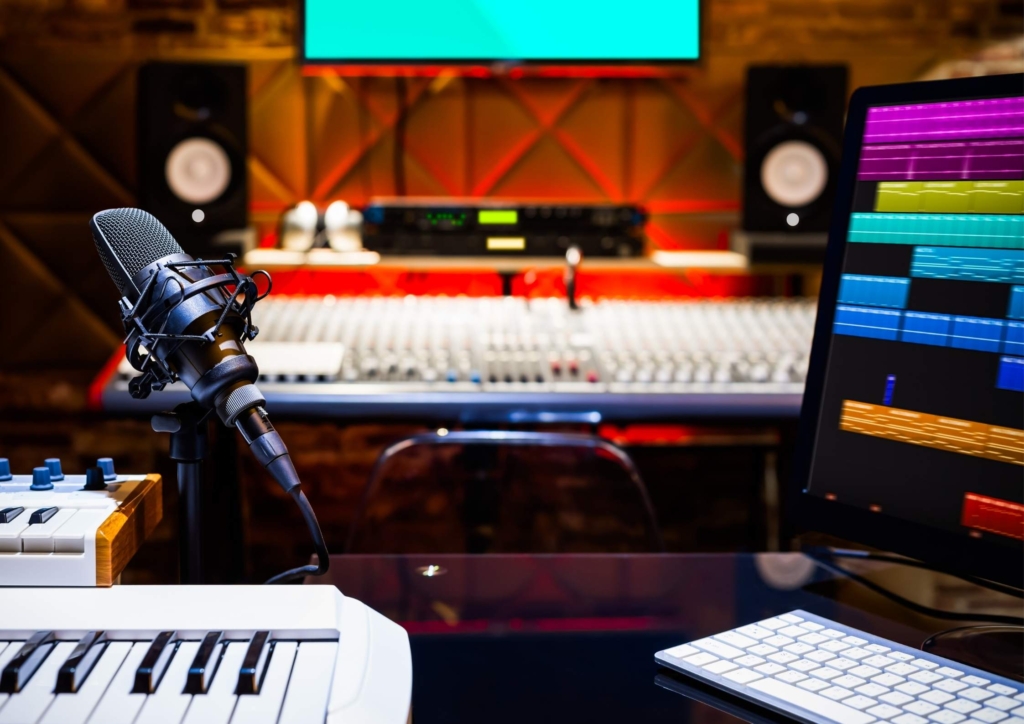
You can add about anything else from that point on such as synthesizers, studio monitors, mic preamp, music instruments, recording booths, screens, etc. But you don’t always need these luxuries to get started.
Once you’ve got your bedroom studio materials gathered, it’s time to start putting things together:
1) Pick a room/floor plan and lay everything out
A bedroom is probably the best space for a bedroom studio; but if this isn’t an option, then look for any place that isn’t already filled with heavy furniture (you don’t want anything in your way when laying cables, moving equipment around).
Remember that you’ll be placing several pieces of large equipment such as speakers and monitors (and at least one computer); so account for the space they’ll take up before you start placing furniture or anything breakable.
Line the walls with plywood if necessary, screwing studs into the floor and ceiling (wherever it’s solid enough to support the weight) to create a base for all of your equipment. You can then cover this base with more sturdy plywood, faux wood paneling, carpet tiles, etc.)
2) Build your bedroom home recording studio frame
This is where things get interesting! How you build your bedroom studio frame depends on what kind of equipment you’ll be storing in there.
You need something sturdy enough to hold whatever it is; yet able to fold away when not needed so that you don’t lose any precious bedroom space!
It may sound like an impossible task; but really, there are a few simple tricks of the bedroom recording studio trade that will make it easier:
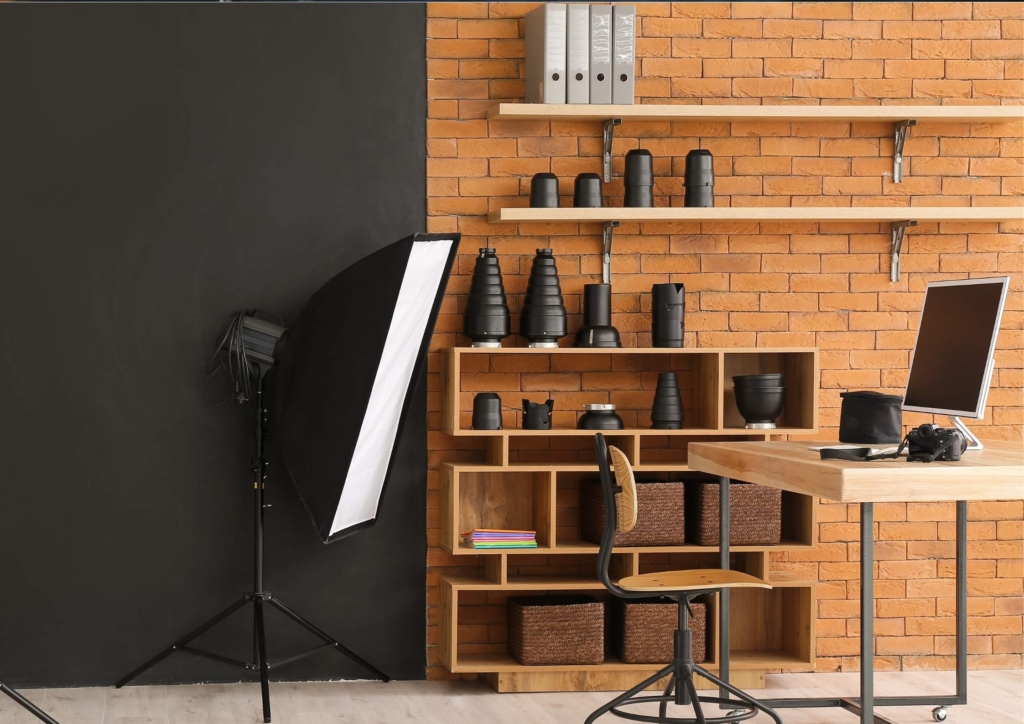
- Build bedroom studio shelving units. Shelves are perfect for storing speakers, headphones, mics, instruments, clothing racks for dresses, hats, shoes, etc. You can easily build these yourself by screwing together some plywood sheets along their length, edge banding the top and bottom, then covering them with molded plastic paneling or wood veneer.
- Buy bedroom studio furniture kits. Many bedroom recording studios are built around bedroom furniture because it’s often cheaper than buying purpose-built equipment racks and shelves. Plus, bedroom furniture is usually easy to assemble, so you can have your bedroom home recording studio up and running in no time!
- Use a forklift to raise heavy equipment. (If needed) If you’re installing a floor-standing case or rack mount chassis, then you can use a forklift to lift them into place and assemble your bedroom home recording studio frame around them. Remember to support the bottom of any large electronic items so that they don’t leave dents in your bedroom flooring!
3) Wire up the bedroom home recording studio frame.
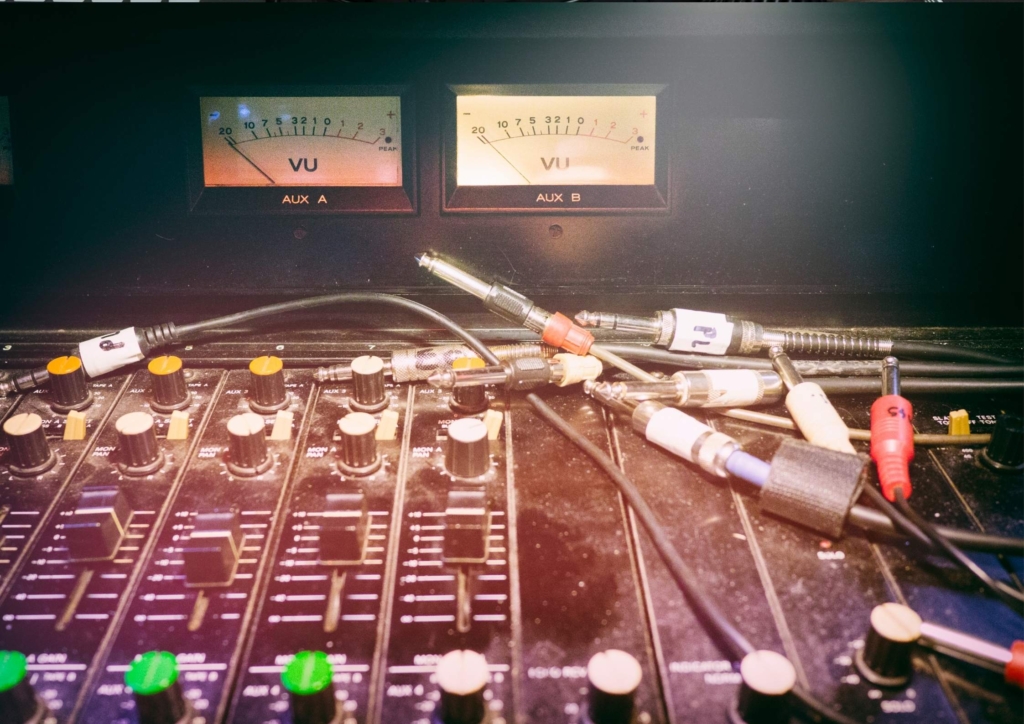
You’ll need to run a few power cables along the floor for each piece of equipment you’ve installed, as well as enough data cables to connect each device to its next stop along the signal chain (eg, from the hard drive through sound card, then into the audio interface).
You may want to run these cables through your bedroom’s light fixture so that you don’t have too many cables running across the floor and tripping you up: just glaze over an existing bedroom light fitting and drill a few holes to feed the cables through.
4) Make your bedroom recording studio comfortable.
There are two things about your bedroom home recording studio that need to be comfy: the equipment racks and shelves themselves, as well as where you put your chair while working on them! (don’t forget to get one for your guest as well!)
You can buy purpose-built bedroom home recording studio seating that gives you back support if needed; but otherwise, just use a high-quality office chair with decent armrests for ease of movement.
5) Power up the bedroom home recording studio.
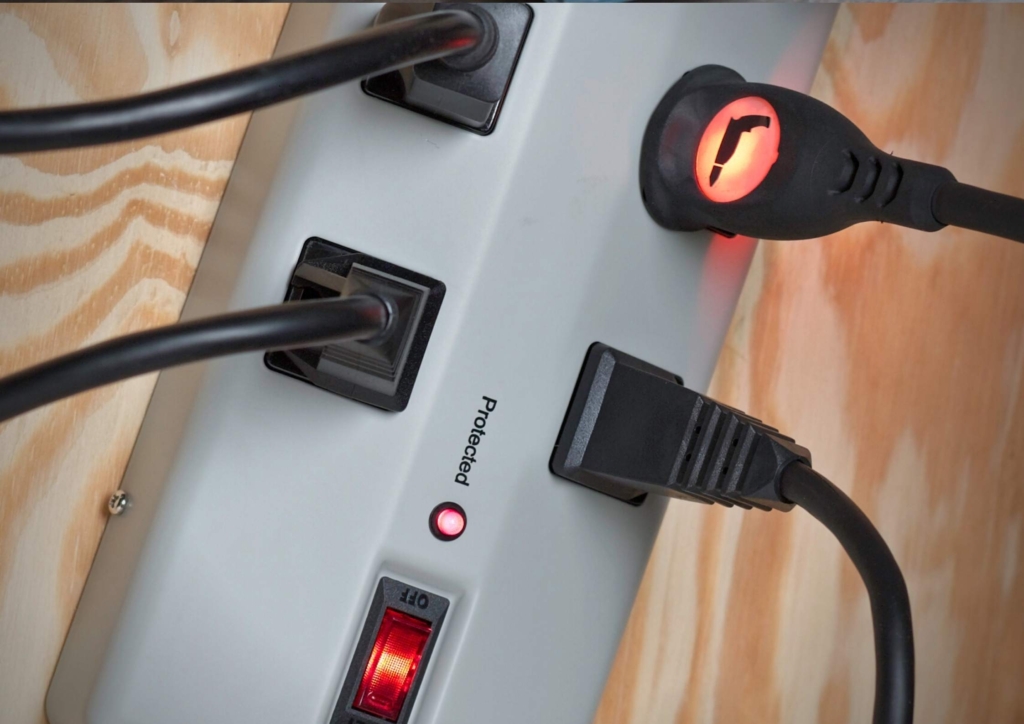
The power strip is another feature most bedroom studios overlook; yet this can be one of the deadliest bedroom devices if you don’t get it right.
The bedroom power strip needs to be heavy duty, able to carry sufficient amps for all of your equipment (including things like headphone amplifiers that eat up amps).
It also should have a good surge protector built-in, just in case the worst happens and lightning strikes your bedroom home recording studio while you’re working on it!
6) Get cozy with acoustics.

Finally, think about how you’ll reduce echoes, eliminate standing waves, and other bedroom recording techniques to improve sound quality.
You could build an acoustic treatment screen using egg cartons or lying a thick duvet over some quilted panels across the room (with egg cartons sandwiched between the layers to make panels out of them).
If you don’t want to spend time building anything, there are a lot of high quality foam available in the market as well, they should work just fine and very ease to install. Although It does require some knowledge in sound acoustic in order to place your foam or panel correctly in a room, but it’s not rocket science just spend some study time on Youtube and you’ll know what to do.
Or, check out some bedroom acoustics companies for advice on how best to treat your bedroom home recording studio space.
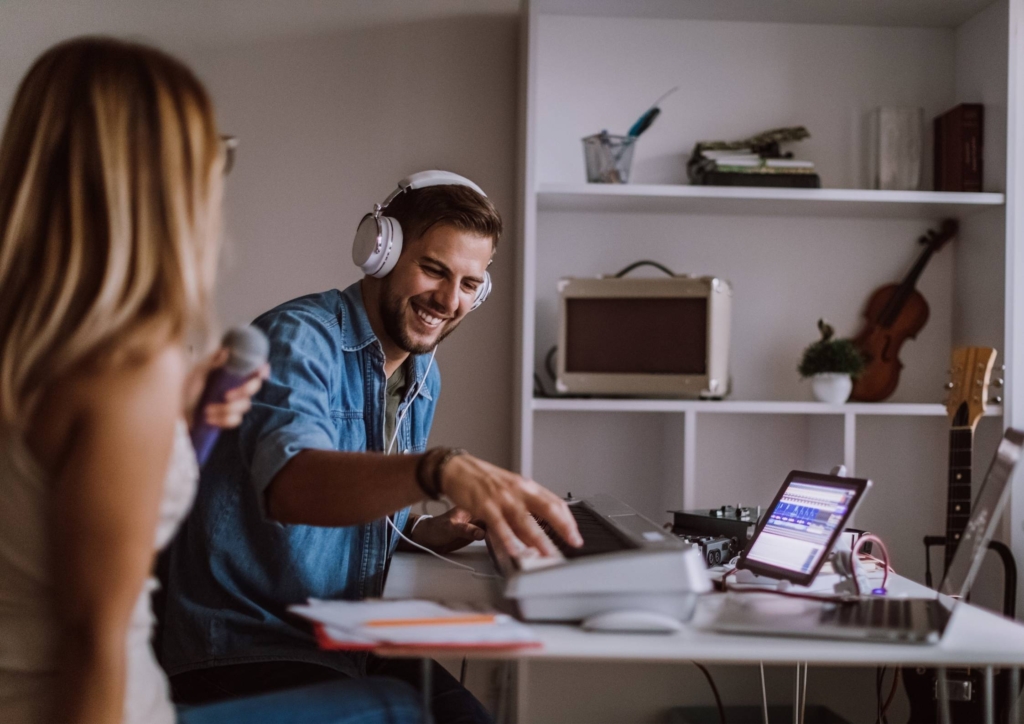
7) Music Instruments and Gears
Alright, now it comes to the most exciting part and this should goes without saying which is the music instruments and gear you need for your home recording studio.
In the beginning of the article, I’ve listed down some of the bedroom studio essentials and I suppose you probably have some of the studio essential already if you are not a complete beginner.
Go and have a look on those again see what you are missing, having gears that could enhance your creative workflow is great but make sure you invested enough time in learning all the audio knowledge as well, you’d be glad that you do.
8) Set up a schedule.
If you’ve done all this hard work and now have a bedroom home recording studio, be sure to set up a bedroom studio schedule so you are practicing bedroom music production regularly.
Many bedroom home recording studios require regular maintenance too, so check out bedroom home recording studio forums or do some web searches for bedroom home recording studio support online.
10) Have fun!
You may want to enlist some bedroom home recording studio help at first; but once you get the hang of things, enjoy your bedroom music production creativity inputting sounds into your bedroom home recording studio! Good luck with building a bedroom home recording studio for yourself!
What’s Next?
Not too difficult was it? If you found this useful, please share it or link back to this page and it would be much appreciated! If you have a bedroom home recording studio experience yourself that is relevant to bedroom music production then comment on this bedroom recording studio article and tell us what you think!